The Framework I Use to Plan Every Japan Trip With Points - Part 3: Routing, Logistics, and Preparing for the Trip
Smart routing and logistics decisions that protect your time, energy, and sanity in Japan
Time & Energy is the Name of the Game
In this final part, I’m sharing the behind-the-scenes choices that make our Japan trips feel seamless.
These tips protect your time and energy, letting you experience more without feeling rushed.
First up: how we design a smart route through Japan, based on what repeated trips have taught us.
North or South, or Both?
The majority of visitors to Japan land in Tokyo, which happens to be in the middle of the island.
With so much to see, it can be tempting to stretch north, then south, and everywhere in between. There is no single “right” answer, but there are some things to consider.
Arguably, the smoothest way to travel is by bullet train, or shinkansen.
There are no airport-style security screenings, and the process is straightforward if you give yourself enough time to buy a ticket at a station machine.
Domestic flights, however, can be a lifesaver if your itinerary stretches far north to Hokkaido or far south to Okinawa.
So really, it’s okay to go in every direction, as long as (1) you are using the most efficient transportation method, and (2) you are not backtracking, crisscrossing the country unnecessarily - wasting valuable time in transit.
Mix and Match
In our case, since both my siblings live in the northern part of Japan in Sendai and Sapporo, we always visit them first, and then venture south beyond Tokyo.
We take a one-and-a-half-hour bullet train from Tokyo to Sendai Station, and after a few days, take a short plane ride to Sapporo.
The flight only takes an hour and twenty minutes and is by far the preferred mode of transportation, since going by train would take considerably longer, as the bullet train only goes halfway to Sapporo.
The shortest route takes 6.5 hours, and it’s also more expensive than flying! (Flying would cost around $75 to $125 per person, whereas the train would cost $170 per person)
From Sapporo, once the American omiyage has been gifted and our suitcases are blessedly lighter, we fly south to Itami Airport in Osaka. At just under two hours and around $100 per person, it’s our preferred way to reach the other side of Japan.
Using Osaka or Kyoto as a base, we venture into neighboring prefectures by express or bullet trains.
This makes day trips to other cities and sites an easy one to two-hour round trip instead of risking getting stranded somewhere with nowhere to stay (as mentioned in part 2).
Amazing Train Stations
Have you ever noticed how hotels closer to major train stations are noticeably more expensive than those that aren’t?
With Japan’s focus on convenience and public transportation, it’s not surprising. If you can book a hotel that’s built into or directly attached to a station using points, you’ve struck gold.
Being able to step outside your hotel and immediately hop on a train is a massive advantage.
I once tried saving money by booking a place ten minutes away by taxi. I quickly learned that finding designated taxi stands in a huge station can be a nightmare, and whatever I saved on the room quickly dissipated with cab fares.
Do yourself a favor: stay as close to the station as possible. It’s a logistical win that gives you more freedom, flexibility, and far less time anxiety.
The deluxe location of The Tokyo Station Hotel, as the name implies
Luggage Stress
When you move from hotel to hotel and city to city, luggage becomes the biggest logistical pressure point.
Cory and I travel with two large suitcases, a carry-on, duffels, and a backpack.
That may sound like a lot.
And it is - our friends often make fun of us, saying that we are heavy packers.
But those very same friends dared to come to Japan with only 1 large suitcase and a few large backpacks, and you know what happened to them? They had to buy 2 more suitcases!
So there.
You just never know what you may fall in love with in Japan, and having suitcase-space anxiety is not the way to go.
What is worth avoiding is dragging those bags onto public transportation.
In Japan, large luggage on trains is widely seen as inconsiderate. Even on the shinkansen, where people are more likely to have luggage, cramming a suitcase in front of you means the person ahead feels every bump.
Carry-ons can go overhead within reason, but medium and large bags really shouldn’t. Many of us have done it before. It’s stressful, uncomfortable, and now we know better.
So, what can you do? There are two options.
You can try reserving seats with luggage space, but they’re limited and not always available. I prefer not to gamble. Instead, with a little planning, you can make those awkward, cramped, stressful moments go *poof* along with the bags.
Forward your suitcases and travel with just a backpack or small cabin bag. The difference is incredible - no squeezing through ticket gates, no stares, no aching arms. Just freedom.
Where Buffer Days Save the Trip
I usually land and depart from Tokyo, so stays in Tokyo often become important “buffer stays” for us.
You will need this padding when you land in Japan, before you jump right into an eventful itinerary.
Taking just a night or two to relax and pamper yourself with luxuriant amenities like a spa, pool, sauna, or a full breakfast is a great way to get yourself comfortable and a huge aid to adjusting to the vastly different time zone.
If you have more days in Tokyo planned, you can often use the first two days to relax and adjust, and then transition to a simpler hotel in an area you want to explore more thoroughly.
Alternatively, if you want to travel to other cities, you are now well rested and ready for adventure.
Conrad Tokyo is a destination on its own - but it’s also one of our favorite buffer hotels in Tokyo with all the right amenities
Yokohama Comes to the Rescue!
Sometimes, especially during peak travel seasons, Tokyo on awards can be expensive.
For example, a stay at the same hotel on points may be quite different during certain months.
If Tokyo seems too high, you can book a hotel in Yokohama, which is only 30–40 minutes away by train. The biggest advantage of Yokohama is that even luxury hotels are much cheaper in comparison to Tokyo.
Yokohama is a huge city in its own right, with plenty to do and explore. But its proximity to much of Tokyo makes it a desirable place to stay if you don’t mind the slightly longer train rides.
The Minatomirai area of Yokohama is beautiful - all the fun things at your fingertips, and it’s never too crowded
What I Get Before I leave the U.S. - Tech Essentials
A few essentials make travel in Japan dramatically less stressful. At the top of my list is reliable internet.
If your employer provides international service, amazing. Most travelers, though, must choose between four options: pocket Wi-Fi, a SIM card/eSIM, renting a phone, or using a day-pass from a U.S. carrier.
1. Pocket wifi
Many companies offer rentals, and they’re mostly pretty similar. We often use Japan Wireless for its competitive pricing and reliability, but most major providers will do the job - so it’s up to your preference with rates, packages etc.
You can pick it up at the airport or even have it shipped to your hotel.
The downsides are that it may not last all day if you are a heavy user, and if you’re traveling as a pair, the moment you’re out of range from the one carrying the device, you lose service. Some couples rent two, but at that point many travelers, including us, consider SIM cards instead.
Pocket Wi-Fi - Bottom line
Easy and dependable. Expect about $6–$10 per day depending on provider. Best if you stay together; inconvenient if you split up. Book ahead for pickup at the airport or delivery to your hotel.
2. SIM card
SIM cards are lightweight and often come with a Japanese phone number, which can be incredibly useful.
Many restaurants still prefer reservations by phone. Apps help, but calling sometimes works more magic, especially last minute. A domestic number can also make certain taxi or service apps easier to use (and are often necessary to sign up).
I use Mobal every time and have had consistent success.
One caveat: on rare occasions SIMs have messed with my contacts or messages. It might be user error, but it has happened to us and friends, so it’s something to be aware of.
SIM card - Bottom line
Lightweight with the huge advantage of a Japanese phone number. Usually $3–$5 per day. Requires careful setup, and rare phone glitches can happen. Order well in advance since shipping or activation can take time.
3. Renting a phone from the airport
Large companies like SoftBank rent smartphones and basic phones at the airport, and some will ship them to your hotel.
This is a very smooth, turnkey option. Pick it up, power on, and you’re ready.
The trade-off is cost. Daily rates may not seem high, but over a longer trip they can add up quickly, especially with add-ons.
Renting a phone - Bottom line
Very simple, very turnkey. Roughly $4–$15 per day, with smartphones on the higher end and extras adding up fast. Great if you want minimal setup and maximum peace of mind.
4. Using your U.S. carrier plan
Most carriers let you use your existing plan in Japan for a flat daily fee, usually around $12. When you land, you follow the prompt on your phone and you’re online.
It’s especially helpful if you need to receive texts from home, like bank verification codes.
My hesitation is reliability. Verizon has been inconsistent for us recently. Many people have no problems, but it hasn’t become our go-to.
Using your U.S. carrier plan - Bottom line
The absolute easiest to start. Typically around $12 per day and may include data limits. Excellent for receiving U.S. texts and verification codes, but reliability can vary.
Actually, this might be your last resort. I’ve only used it once my whole life and I’m happy to keep it that way
What I Get Before I leave the U.S. - Cash & IC Card
Japan has held a high-tech world persona for some years now.
But many travelers find that the latest tech coexists with tradition and its rigid resistance to change.
As such, some stores and restaurants still only accept cash, as do some individual taxi drivers.
Even topping off IC cards can require cash (rechargeable contactless smart cards you use for transportation and small purchases).
So then, how much cash is enough?
My rule of thumb is to bring $500 worth of yen for a 2-week trip for a couple.
That should be more than enough, and if you needed more, you could run into a 7-Eleven and use the ATM.
If your travel involves hanging out with friends, you may want to bring more.
Oftentimes, cash is the only way to split a meal because most restaurants don’t allow multiple credit card transactions like in the States.
Also, it’s common for people in Japan to pay for your meal when you visit them. In such cases, they may pay for everything or have you pay only a small fraction of the meal.
Having cash on hand makes this a much smoother experience.
I’ve been in situations where I felt very cash-poor - eating out with my brother’s family and having to get more cash after the meal.
Aside from ATM’s, if you bring U.S. dollars, you can find currency exchange shops. The best ones often beat even my home bank, and are located in shopping malls or department stores. So a little research can go a long way.
IC Cards: Suica, PASMO, ICOCA
Having one of these 3 transit cards in your digital wallet is a huge win. While more stations are starting to accept tap-to-pay credit card functions, not all stations do. So, using an IC card is highly recommended.
You can load it up before your trip if you plan to jump on a train or a taxi right after you land.
Oftentimes, a credit card from your digital wallet can add funds to your IC card. With current exchange rates, topping it off at 20,000 yen only costs $130 (when the yen was stronger, 20,000 yen cost “20,000 cents”, or $200).
Before I had an IC card, I jammed cash into one of these and made it stall. During rush hour. That was the only time a Japanese person other than my mom yelled at me
Common Routing Mistakes I See Travelers Make
1. Using Tokyo as the only home base
As I mentioned in Part 2, if you try to day-trip from Tokyo to places like Kyoto, Osaka, or Kobe by bullet train, you’ll lose nearly six precious hours in transit.
Even worse, you’ll spend the day watching the clock instead of sinking into the city.
2. Too Many Day-trips from Tokyo
There are breathtaking escapes from Tokyo - Hakone, the Fuji area, and Kamakura, just to name a few. But stacking them back-to-back can leave you tired and less appreciative of each place.
Maybe you travel buffet-style and want a taste of everything. That’s understandable. But at what cost?
You may come home with tons of photos from places you never truly connected with. Worse, you only scratched the surface, so the FOMO sticks around.
If you still want the buffet, go for it. Just know it may be less satisfying than choosing one area, staying a couple nights, and actually chewing on it.
3. Too Many Destinations
A friend of mine once blitzed nearly 10 cities in under 12 days, trying to maximize their JR Pass (back when it was much cheaper). He and his wife had a good time, but came home exhausted and full of regrets. They wished they had stayed longer in many of the places they visited.
So what did they do? They planned a return trip focused entirely on Hokkaido, moving slowly and giving each area the time it deserved.
We all travel differently. But understanding what those map distances feel like in real life can change everything.
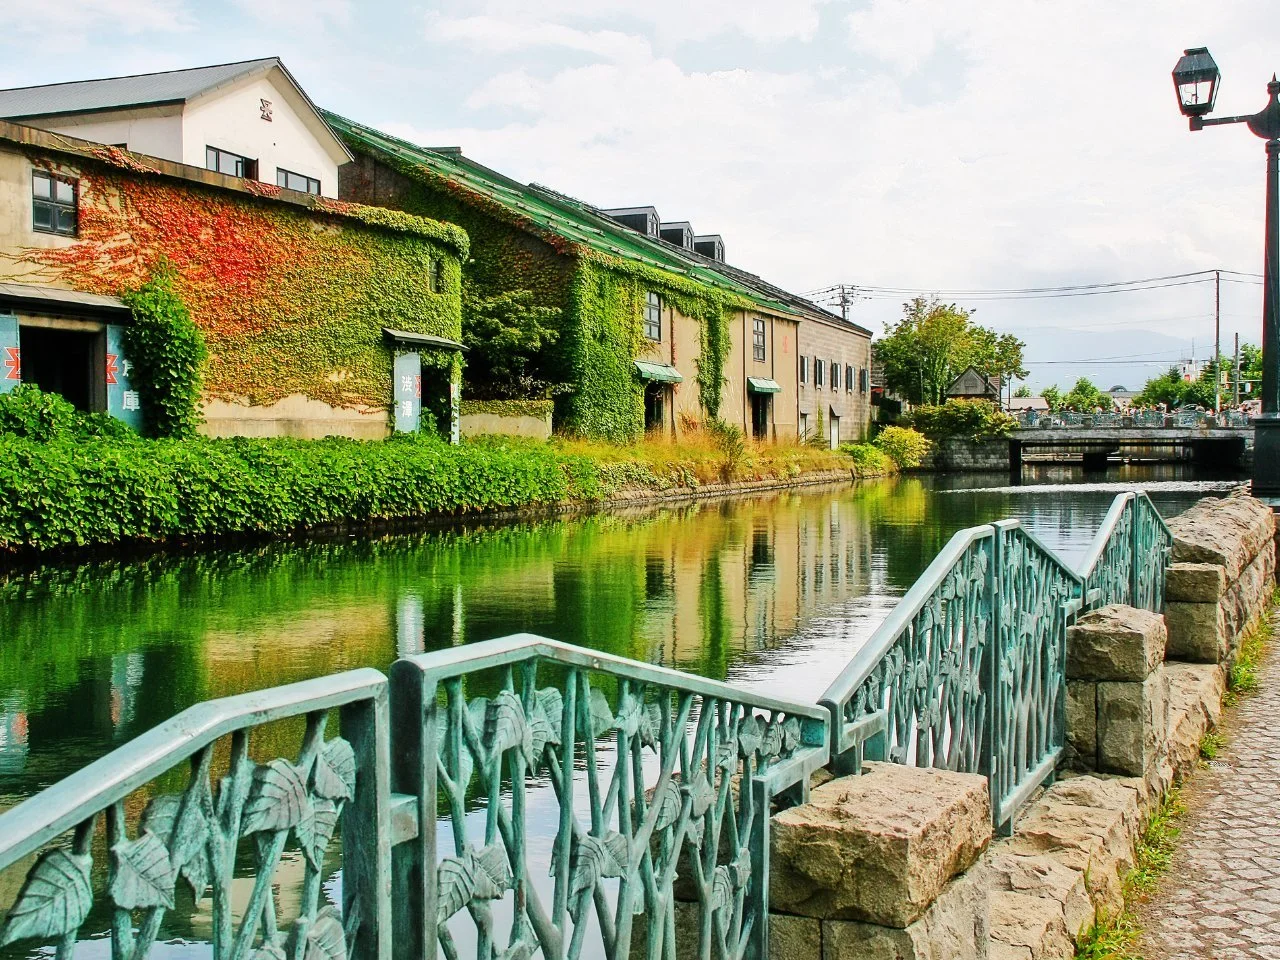
Otaru, a magical little town in Hokkaido worth visiting
A Real Transfer Day: What it Actually Feels Like
For me, this is a typical transfer day.
I wake up early enough to enjoy a sit-down breakfast at the hotel with Cory. In the past, I might have thrown on a baseball cap and called it a day, but lately I try to be a little more presentable, which naturally means starting earlier.
You do you.
After breakfast, I bring the large suitcases and duffels down to the lobby and arrange to have them shipped to the next hotel.
If you have a wife like Cory who loves shopping, I feel for you. I’m happy she enjoys it - and I’m part of the problem too - but I’m also the designated packer because I’m apparently more “spatially aware.” Packing everything and getting the bags ready takes a good chunk of time and mental focus.
Once that’s handled, we grab a taxi to the station with our essentials, check in for the train, pick seats, and begin the search for the platform.
When we finally reach the correct car area, that’s when we can breathe. That’s usually my cue to hunt down a bento box and some drinks.
After the ride, there’s still the wave of people exiting, figuring out directions, and locating the next transportation.
None of it is impossible, but you can feel how many moving parts are involved.
A major transfer day can go perfectly well. But it takes attention, timing, and energy, because in the back of your mind, you’re always trying to get it right.
The lesson: what looks like a two-hour hop on Google Maps often becomes the better part of a day once you factor in packing, waiting, navigating, and staying mentally switched on.
The Goal of All This Planning
This can sound like a lot of strategy for a vacation. Shouldn’t you just land and go with the flow?
I used to think that way too.
But after many trips, I realized that every smart routing decision, every well-planned hotel, every suitcase sent ahead is buying something incredibly valuable: energy.
Energy to explore.
Energy to stay out later.
Energy to notice the small details instead of worrying about the time.
When transit runs smoothly, you’re calmer, lighter, and more open to what’s around you.
Good logistics don’t make a trip rigid. They create freedom. They create room for spontaneity.
And when the stressful parts are handled, the trip starts to feel effortless.
Also in this series:
The Framework I Use to Plan Every Japan Trip With Points - The Complete Overview
The Framework I Use to Plan Every Japan Trip With Points - Part 1: Flights
The Framework I Use to Plan Every Japan Trip With Points - Part 2: Hotels